Opening Times and
Facilities
Sundays and Bank Holidays from the first Sunday
in April to the last in October, 11 am to 5.00 pm.
Wednesdays 11 am to 4 pm in June – August.
Groups and research by arrangement
Shop with Café serving light refreshments
Grass Picnic Area, Parking
Meeting Facilities
Library and Archives
Memorial Chapel
Toilets, with disabled facilities and baby change
Due to wartime design, upper floors of Tower
are not accessible to wheelchairs.
How to find us
Situated one mile SW of Great Glemham, East
of the B1116 (Hacheston-Framlingham Road).
Turn off through Parham village or from the
A12 directly opposite Glemham Hall. Follow
the brown tourist information signs and Air
Museum signs. Look out for the old control
tower on the airfield.
Services
The 390th Bomb Group Memorial Air Museum is
a tribute to the “Flying Fortress” crews who flew
from Framlingham. 743 airmen were Killed or
Missing In Action and 740 became Prisoners of
War.
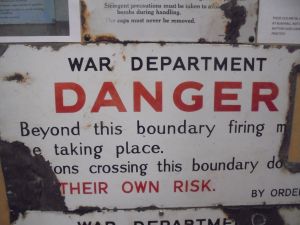
The Museum of the British Resistance
Organisation tells of the “Secret Army”. Had
Britain been invaded, these Auxiliaries would
have fought a ruthless guerrilla war.
390th Bomb Group (H)
Memorial Museum
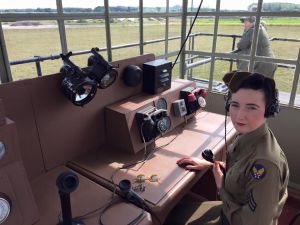
The original Control Tower opened in 1981
after a five-year restoration project. Soon
Nissen huts and more recently modern
buildings were added to display our various
artefacts.
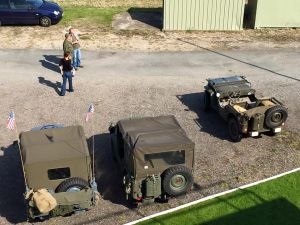
The museum houses a unique collection of
engines, machine guns, equipment, paintings,
photos and memorabilia to illustrate life on the
base.
British Resistance
Organisation Museum
The museum opened in 1997 after research
involving the surviving men and women who
had been bound by the Official Secrets Act. It
holds a large collection of photos, manuals,
weapons and sabotage equipment.
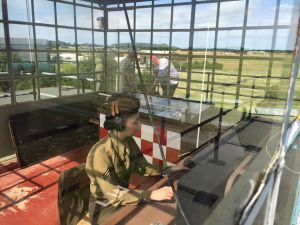
Visitors can enter our reconstruction of the
underground Stratford St. Andrew Operational
Base. An Operational Patrol of 7 or 8 auxiliers
would have lived there with supplies for just two
weeks.
Gallery